

Patios for everyday outdoor living
The main stone terrace, seen from above.
See the finished detailsWe take the guesswork out of property planning. Our structured design process features detailed site inventories, collaborative reviews, and photo-realistic 3D renderings.
Infinity Landscaping's design process begins with an on-site review covering aesthetic preferences, functional goals, budget, grades, drainage, and zoning rules. We translate the brief into a site plan and photo-realistic 3D renderings (so you see the finished landscape before construction begins) then refine, finalize, and execute. Design fees credit toward the build budget.
Documented work from a complete landscape installation on Martha’s Vineyard. Follow the project to see how these spaces connect.
The main stone terrace, seen from above.
See the finished details
The custom outline and stone layout are visible from above.
See the finished details
Stone pavers and granite entrance steps connect the porch to the landscape.
See the finished detailsWe begin with an in-depth on-site review of your property. We discuss your aesthetic preferences, functional objectives, budget parameters, and identify local site conditions like grades, views, drainage, and zoning rules.
We create a precise digital replica of your property, modeling the terrain, existing trees, and home architecture. We then apply proposed hardscapes and plant species, generating high-resolution 3D views for your review.
Once the design is approved, we translate the visual layouts into technical plans. We prepare detailed plant schedules (botanical names, sizes, quantities), hardscape material specifications, lighting diagrams, and a line-item build estimate.
For projects requiring town board approvals, we compile the necessary site plans and represent your project during local hearings. We also coordinate utility layouts with local electric, gas, and plumbing trades.
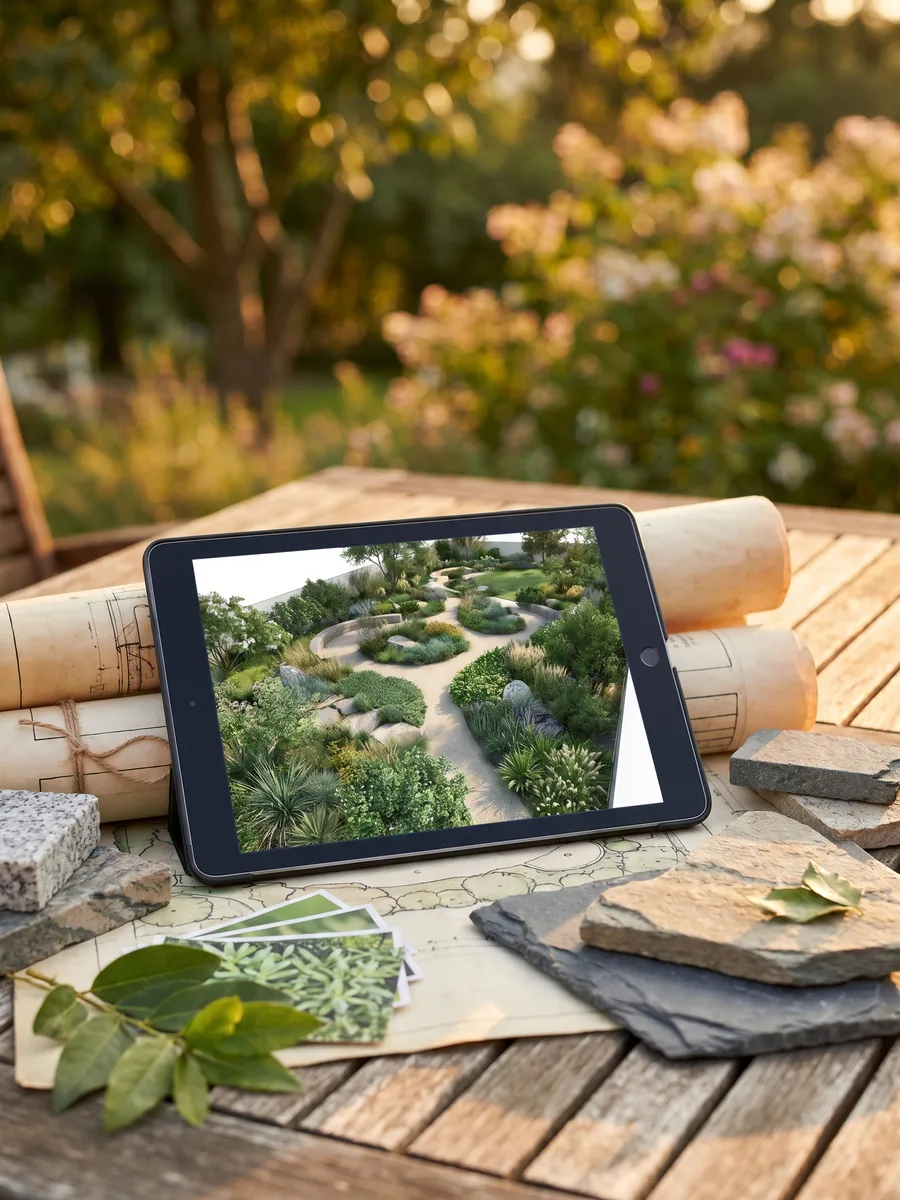
A successful landscape project requires a clear path from the initial sketch to the final stone placement. On Martha's Vineyard, where logistics, material costs, and environmental regulations add complexity, a disciplined design process is essential.
Our process is collaborative and transparent. We work with you to refine the layouts, evaluate different material textures, and select plant palettes that fit your site's specific wind, light, and soil conditions. By resolving grading, drainage, lighting, and irrigation details in the digital design phase, we ensure the build proceeds smoothly, on schedule, and within the agreed budget.
We meet at your property to walk the terrain, review your goals, analyze sun/shade, and take site photos.
We prepare initial 2D layout sketches showing proposed patios, paths, lawns, beds, and privacy screening locations.
We review the concept options together, selecting the preferred layout, materials (e.g., bluestone vs. granite), and plant themes.
We build a digital model of the approved layout, creating photo-realistic views of the final look.
We prepare a construction package including planting plans, grading maps, and a detailed, line-item build proposal.
If your property falls under Conservation Commission or historic district rules, we compile plans and attend local hearings for you.
A few details help us understand the work before the first conversation.
Identify the outdoor spaces you want to use and what is missing from the current landscape.
Share photographs, any available site plans and details of building work that needs coordination.
Discuss paving, planting, lawn and practical access together before agreeing on the sequence of work.